Click below to listen to my Garden Bite radio show: Making a burlap hanging basket
I did the following burlap basket project a couple of years ago. It was fun and the burlap lasts for 2 to 3 years!
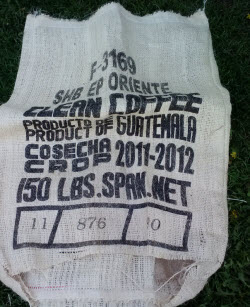
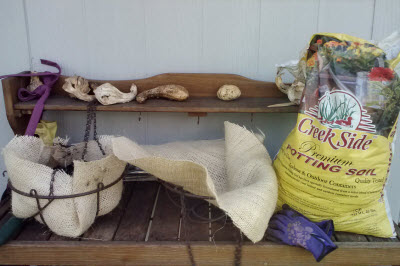
After so many uses of the cocoa bean shells, they become ragged. I wanted to find something a little different and not spend that much. I found some burlap bags in a big box store for 99 cents and thought, hmmmm, I could figure something out with those. So I gave it a go…
 First, cut a circle just about twice the diameter of your basket. I cut mine to 24 inches across.
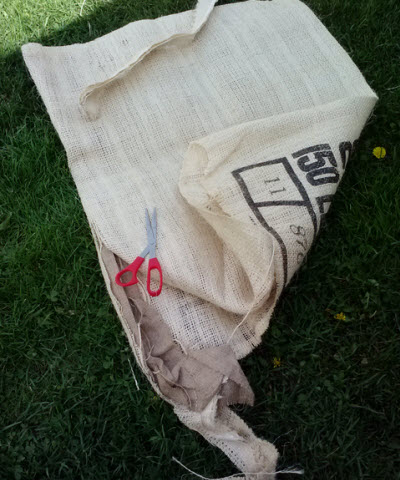
You can trim after you get it all set. But make sure you leave about 2 inches overhang (it will start to hang with time).
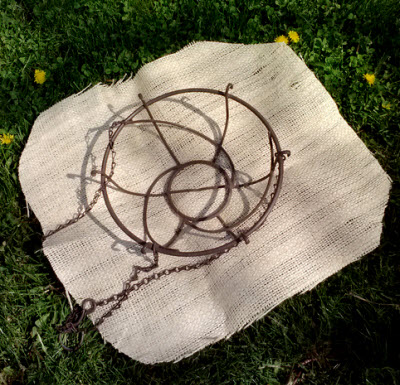
Next, I laid the cutout inside the basket and lined the bottom with some recycled clear plastic.
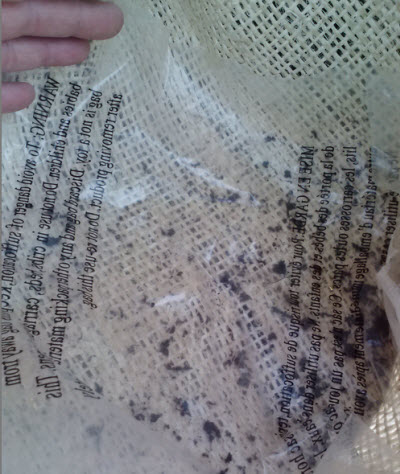
I then started placing soil in the basket to hold the burlap. This takes a little adjusting to get the layered burlap to lay right.
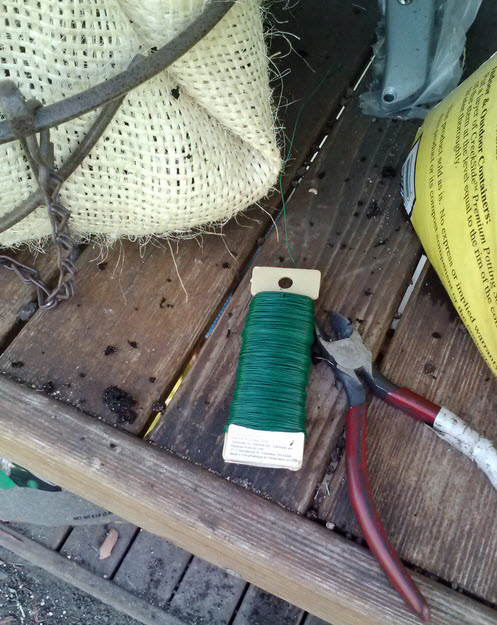
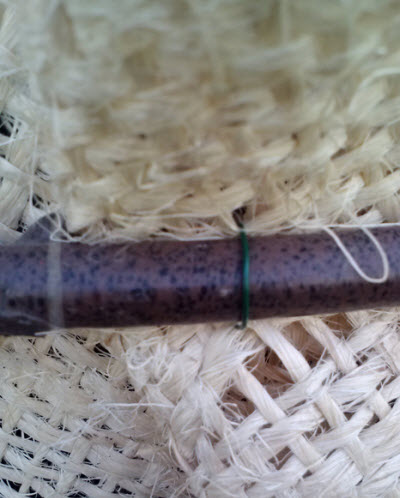
So you’ve laid in some soil and adjusted the burlap, now you need to tack it to the basket itself. I used thin garden wire and sewed, so to speak, the layered pieces to the top of the basket. I tacked the burlap in 3 places where the layers overlapped.
And now… to fill and watch it grow to spill over. Remember, give your new plants time to grow into their new home!
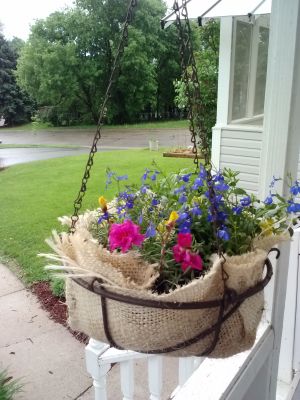
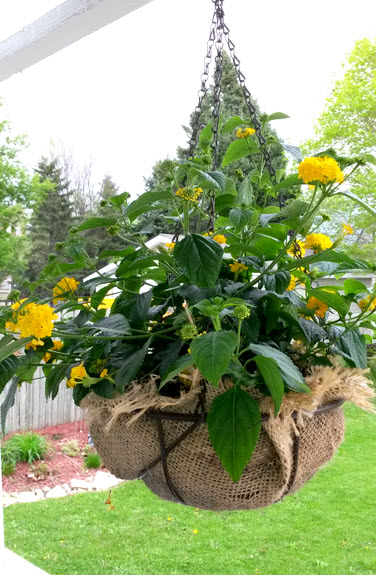
I made these to fit my 12 inch baskets. There’s enough burlap left to make another 10 inch or less. The burlap will weather too. I’m finding that the moisture has stayed in well and there’s no leakage of soil!