Click below to listen to my 2 min. Garden Bite radio show: Making your own Maple syrup
Audio PlayerAs promised… a primer on making your own Maple Syrup. It IS an adventure. It’s time consuming but the flavor can’t be beat.
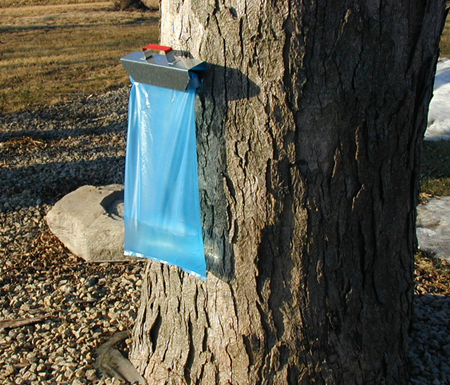
In another life, I lived with an engineer who couldn’t wait to make his own Maple Syrup! This is his story. (unfortunately we only got 1 photo with his homemade taps – the next year he bought bags and taps from a company)
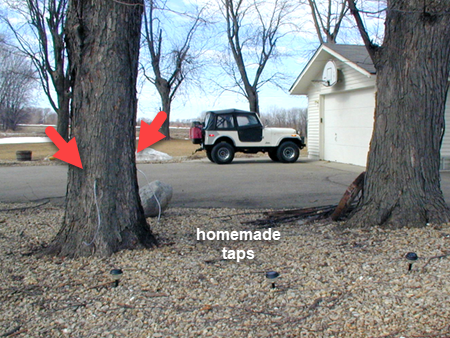
- He made his own taps from 3/8 inch pvc pipe about 5 inches long.
- Tapping into the trees about 3 feet up and at an upward angle.
- Using clean gallon water jugs for collecting the sap he used clear ½ inch pvc tubing to connect the tap and the collector bottle by drilling a hole in the center of the cap.
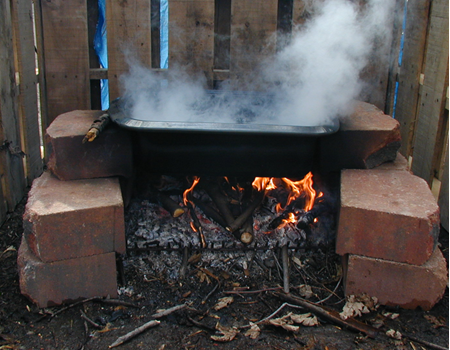
- He used fallen maple branches from his yard to build the fire, placing old pallets around the fire to shield it from the wind.
- He confiscated the pan from my Nesco roaster oven to boil the sap, setting it on unused bricks from another project.
- Instructions from the MN DNR on tapping trees
- Roth Sugar Bush tapping supplies
- Tapping supplies – Lehman’s
It took about 6 hours to boil down 7 gallons of sap into the tastiest Maple Syrup I’ve ever had the chance to sample! Once the sap reaches the boiling point, you need to monitor it very carefully so it doesn’t burn.
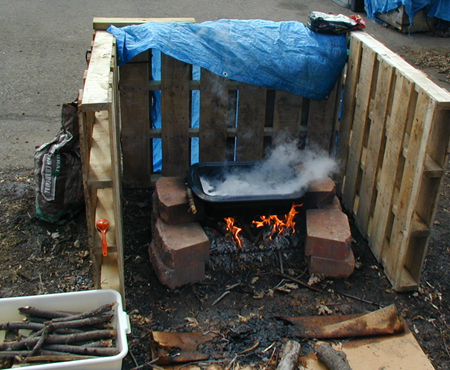
The finished point of maple syrup is when it has reached 7 degrees above the temperature of boiling water. This varies with elevation and weather. He then used coffee filters to strain the syrup. He got about 20 ounces of grade A amber syrup. It smelled like cotton candy and smoke!
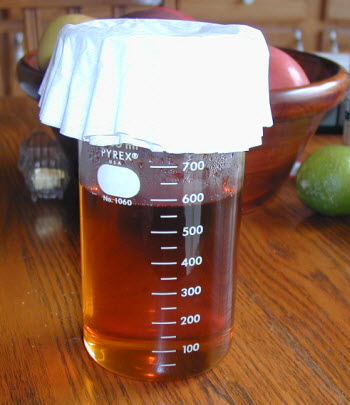
Ah, what a wonderful smell and every drop was a reminder of the day he boiled it down outside. The wind blowing, the smell of the fire and cotton candy. The syrup had a smoky flavor to it too, which I really liked. It was so good he even bought a waffle maker.
