Click below to listen to my 2 min. Garden Bite radio show: Microgreens
March is here but for those of us in cold climates, our weather just isn’t suitable for outside growing yet! In come microgreens!
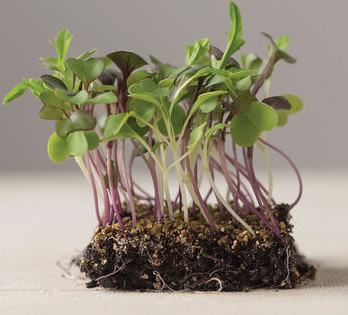
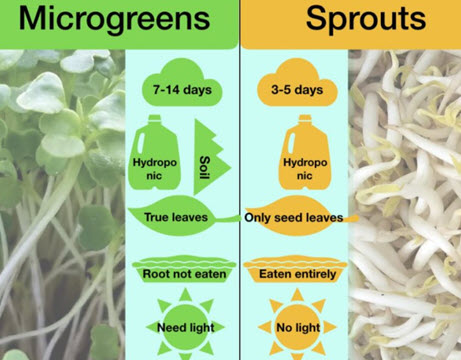
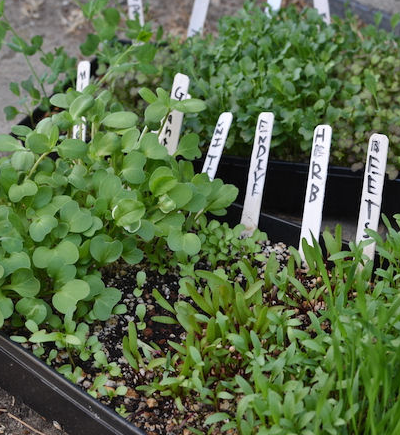
They are really popular and super easy indoors. They are not sprouts (germinated seed), they’re edible immature greens, harvested with scissors less than a month after germination, when the plants are up to 2 inches tall. More information on the difference between sprouts and microgreens from Microveggy.
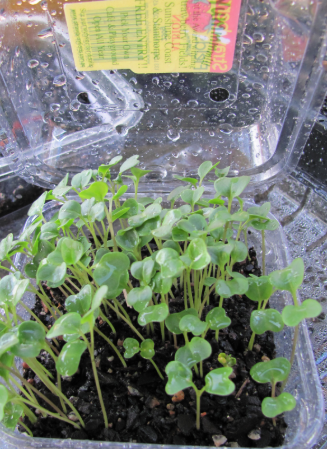
They’re pretty much any green leafy thing. Start your microgreens in a warm, sunny windowsill, a south-facing window is ideal and a small, clean container. Plastic take-out dishes and disposable pie plates work well. Make sure your container has drainage holes.
According to Gardeners Supply Company,
- Cover the bottom of the container with an inch or two of moistened potting soil or mix.
- Flatten and level the soil being sure not to over-compress it.
- Scatter the seeds evenly and gently press into the soil with your hand or a piece of cardboard.
- Cover with a thin layer of seed starting mix.
- Dampen the surface with a mister.
You could also just cover the container with a clear lid or plastic wrap until the seeds are sprouted. Once they’ve poked through, usually about 3 to 7 days, mist once or twice a day to keep the soil moist but not wet. Note, I said mist the SOIL.
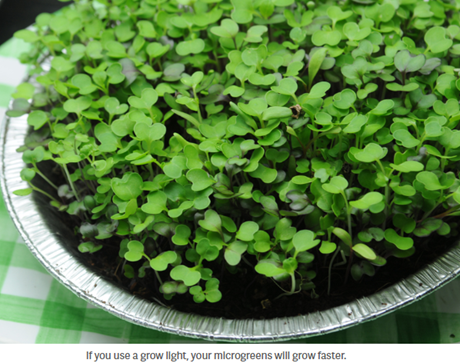
Microgreens need about four hours daily of direct sunlight to thrive. Leggy, pale greens are a sign of not enough sunlight. You can use a grow light. You’ll have delicious microgreens in 2 to 4 weeks.
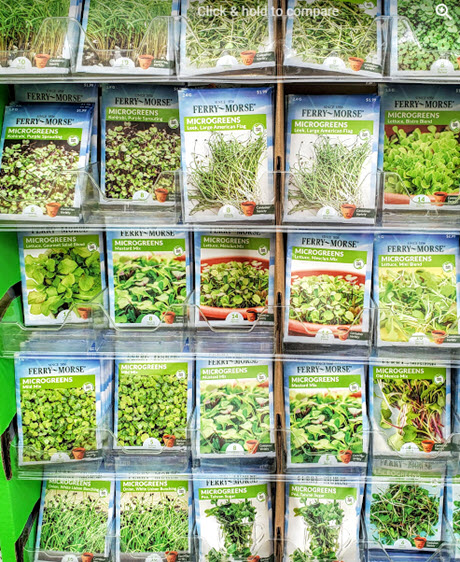
There are a lot of options out there and plant companies have jumped on the bandwagon with seed packets and accessories to help you!