Click below to listen to my 2 min. Garden Bite radio show: Picking pumpkins for decorating
Audio PlayerWhen I was a kid, carving pumpkins meant using the kitchen knife. Not anymore, thank goodness!
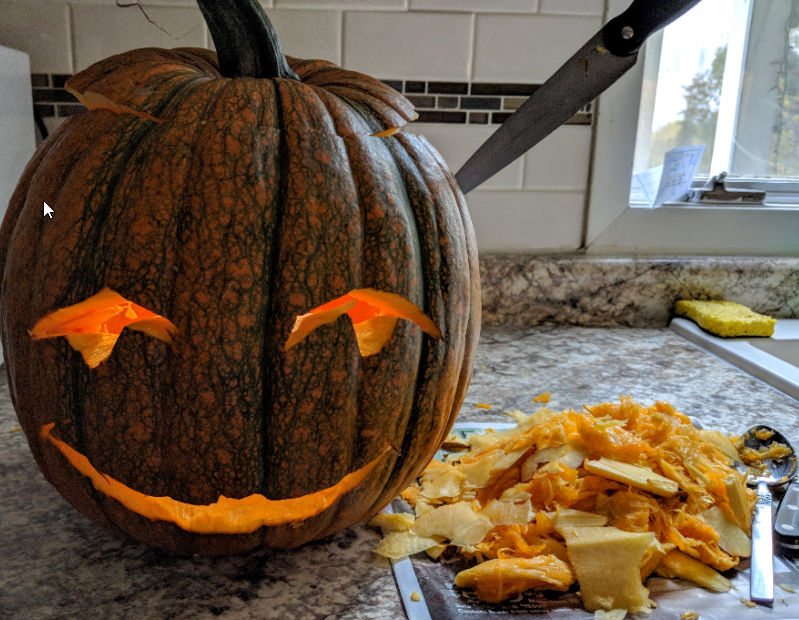
With a myriad of kits with stencils and special tools, the carved pumpkin has reached new levels of design!
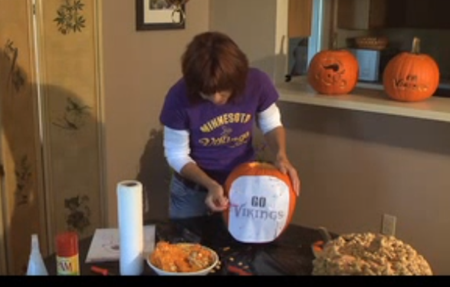
Pumpkin PICKING is an art as well. For the best results using stencils, you want the smoothest pumpkins. Choose a nice even color and the stem should be at least long enough to use as a handle for the lid. OR, better yet, cut out the BOTTOM of the pumpkin to scoop the goop, get your seeds and place your light. You’ll also want a flat bottomed pumpkin.
This video is from 2010 when I had segments on a show called “Game On”. A bit has changed in 11 years!! 
Pumpkins, squash and gourds are all of the curcurbita family, so the terms squash and pumpkins, in particular, can be interchangeable.
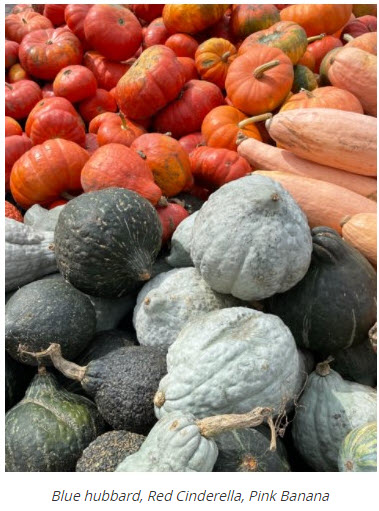
You can paint on ANY of the curcurbita family. The craggy squash could certainly add some panache! Acrylics work best.
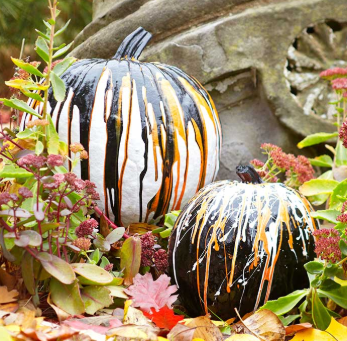
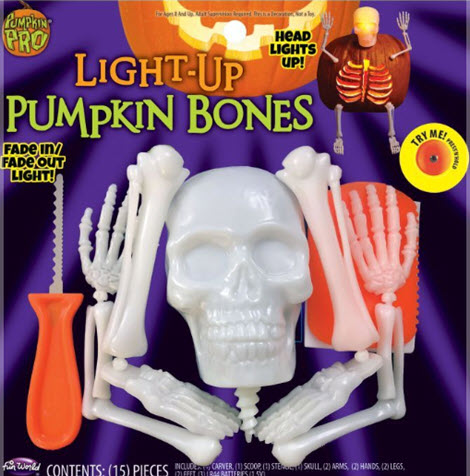
Some people carve just the top layer but I like to cut through and light ‘em up using LED lights or glow sticks. There are plenty of free stencils on the internet or pick up a kit anywhere. If you plan on carving free-hand, use a grease pencil to outline your cuts. You’ll also find an array of other fun items to add on to your pumpkins!
To help prolong your pumpkins life, clean the inside as well as possible and cover your cuts with vegetable oil or petroleum jelly, this will help hold the moisture in so it doesn’t shrivel up as quickly.
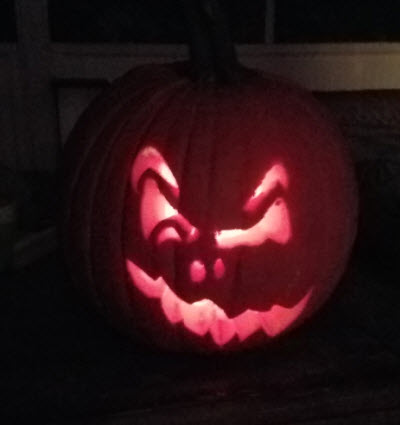
Post your pumpkins on my Garden Bite facebook page! I’d love to see them. And send me your comments, questions and suggestions for future bites!
